How to Make Pour-Over Coffee at Your Desk
The actual workflow for brewing pour-over at a desk — what equipment you need, what you can skip, and how to keep it under 5 minutes per cup.
Pour-over at the desk is the most underrated coffee setup. The cup quality is dramatically better than pod brewers or shared kitchen drip machines. The active time is under 5 minutes per cup. The equipment cost is low.
This is the actual workflow.
What you need
The minimum kit:
- Pour-over dripper. A plastic Hario V60 ($15) is the practical default. The ceramic version ($30) is more breakable but feels nicer.
- Paper filters. $5 for 100. Compatible with the V60 size.
- Kettle. A gooseneck kettle is the standard for pour-over. A standard kettle works for a coarser grind but the pour control is worse.
- Grinder. A burr grinder. Manual (1Zpresso, Hario Skerton) for $30-40. Electric (Baratza Encore) for $150+.
- Scale. A 0.1g kitchen scale. Required for repeatable recipes.
Total minimum kit: ~$80 for the manual grinder path, ~$200 for the electric grinder path.
What you can skip:
- Expensive kettle (any gooseneck works)
- "Specialty" pour-over drippers (the V60 is the standard for a reason)
- Premium filters (most brands are equivalent)
What you cannot skip:
- Burr grinder (blade grinders produce inconsistent grounds)
- Scale (eyeballing doesn't work for repeatable brewing)
The recipe
The default recipe works for most light-to-medium roasts:
- 15g coffee (medium-fine grind, like table salt)
- 250g water at 200°F (just off boiling)
- 4-minute total brew time
- Pour in 4 stages
The 4-stage pour:
- Bloom: pour 30-40g water over the grounds. Wait 30 seconds. The grounds "bloom" — they release CO2 and the water fully saturates the bed. Skipping the bloom produces sour, under-extracted coffee.
- First main pour: pour to 150g total. Pour in a slow, controlled circle from the center outward. Maintain the bed level.
- Second main pour: pour to 250g total. Same circular pattern. Slow and even.
- Drawdown: let the water drain through. The bed should be flat after pouring. Total time from start to end: 3:30-4:00.
Adjust by taste:
- Too sour, too light → grind finer
- Too bitter, too heavy → grind coarser
The 1Zpresso manual grinder has 40 click positions. Most pour-over recipes work between 14-22 clicks. Start at 18 and adjust from there.
The desk workflow
Total active time per cup: 4-5 minutes. Total "you can walk away" time: 3-4 minutes (during the drawdown).
The flow:
- Heat water. 1 minute from a kettle.
- Grind coffee. 30 seconds with a manual grinder. 10 seconds with an electric.
- Set up the dripper. Place filter in dripper, dripper on the mug, rinse the filter with hot water (5 seconds), dump the rinse water. The rinse eliminates paper taste and preheats the dripper.
- Add coffee to the filter. 5 seconds.
- Bloom. 30 seconds.
- Two main pours. 30 seconds each.
- Drawdown. 2-3 minutes, no attention needed.
Total time from "I want coffee" to "I have coffee": 5 minutes. Total active time during those 5 minutes: about 2.5 minutes. The rest is waiting.
The cleanup
Cleanup takes 30 seconds and is the part most people underestimate:
- Dump the grounds (filter and all) into a trash can or compost.
- Rinse the dripper under the tap. 5 seconds.
- Optional: wipe the dripper dry. 5 seconds.
The filter is disposable. The dripper is one piece. There's no carafe to wash. The cleanup is genuinely 30 seconds.
The mug warmer integration
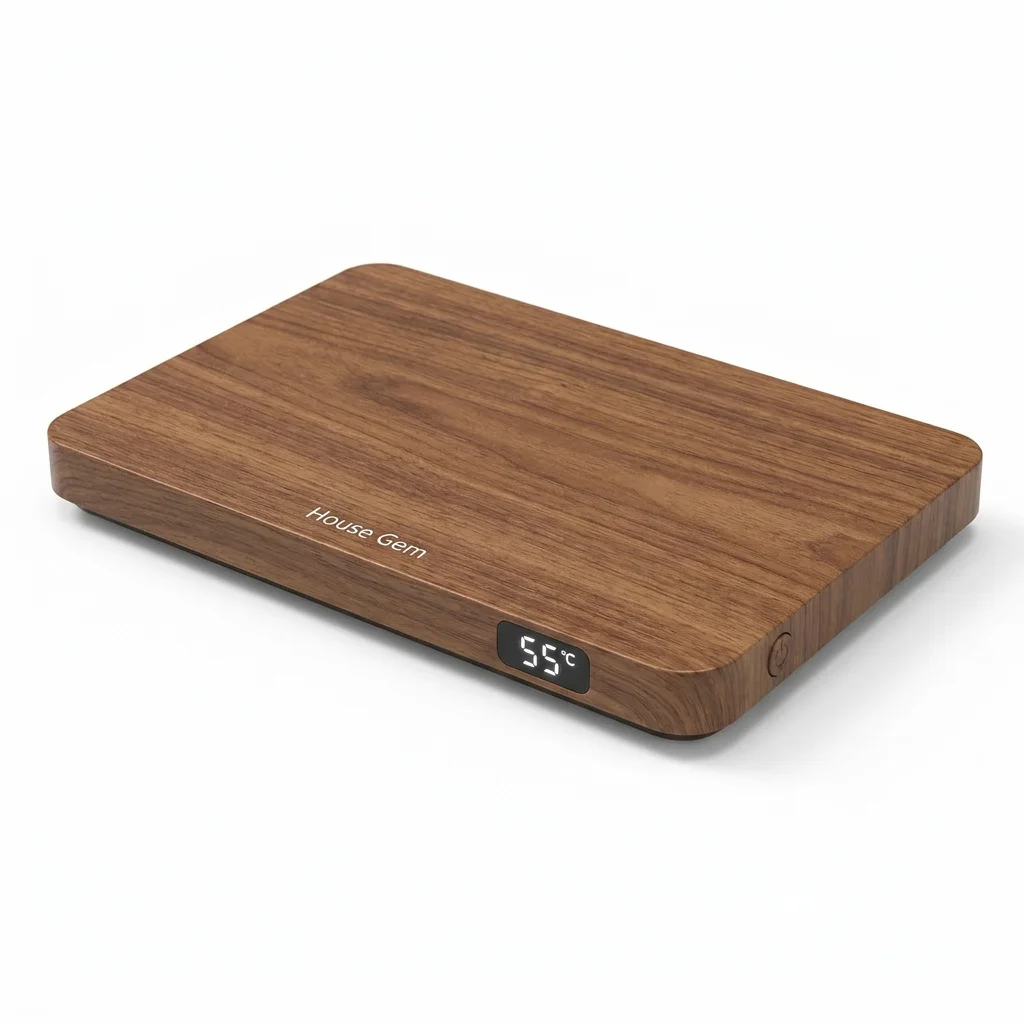
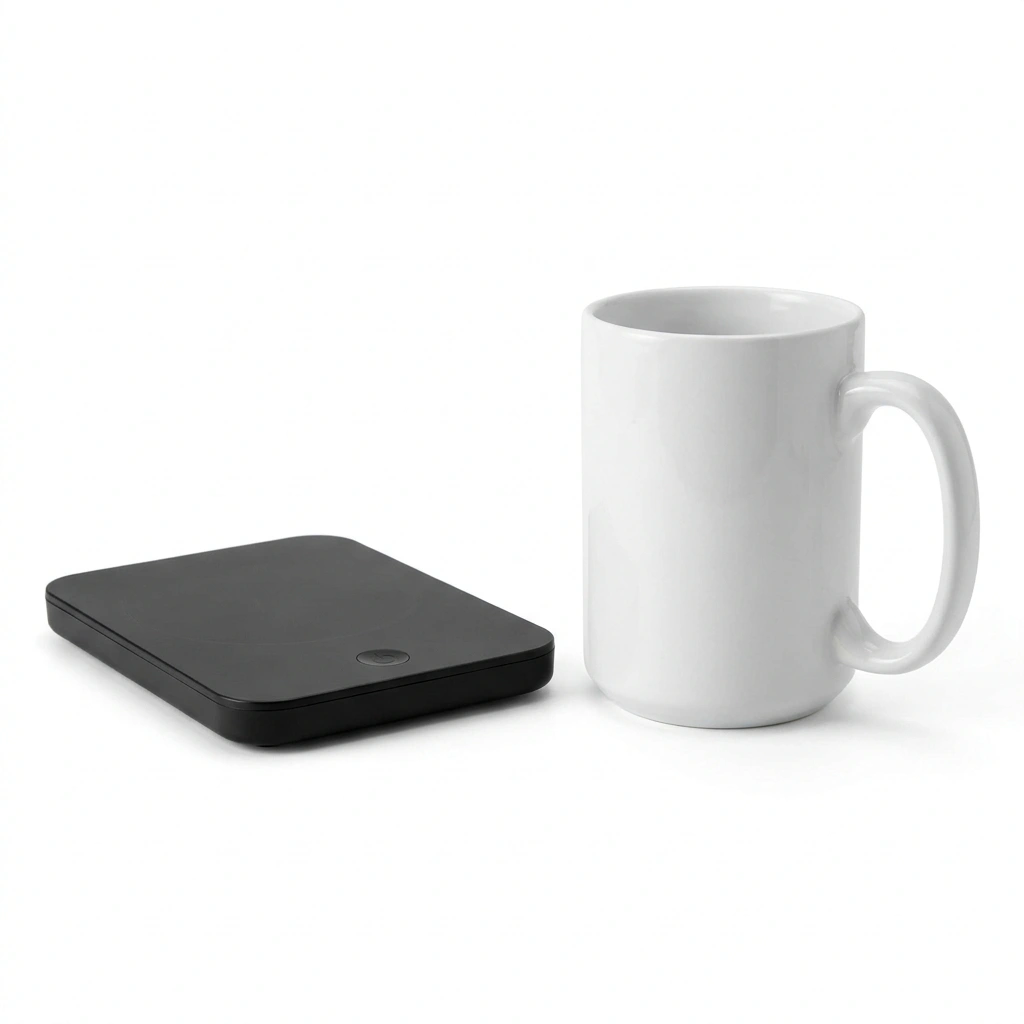
Once you've brewed into a preheated mug, set the mug on a plate warmer. The 4-minute brew cycle plus the 1-2 hour drinking window means the warmer is doing useful work for 90+ minutes per cup.
The Cosori is the default desk pick. The 24W heating handles the heat-hold without overcooking the coffee.
Common mistakes
Mistake 1: Water too hot
Boiling water (212°F) on most coffees extracts the bitter compounds aggressively. The "off boiling" target is 200°F, which means let the kettle sit for 30 seconds after boiling. The first 30 seconds of cooling drops the temperature from 212°F to 200°F.
If you don't have a thermometer, the visual cue is "small bubbles, not rolling boil." A rolling boil is too hot. No bubbles is too cold. Small bubbles forming on the bottom of the kettle is the right zone.
Mistake 2: Grind too coarse
The most common beginner mistake. A coarse grind (like coarse sea salt) under-extracts. The coffee tastes sour, thin, weak. Move to a medium-fine grind (like table salt) and try again.
Mistake 3: Pour too fast
The first main pour is where most beginners rush. A fast pour floods the bed, channels form (water finds paths through the grounds rather than flowing evenly), and the extraction is uneven. The result: sour on one side, bitter on the other.
Pour at roughly 5-6g per second. Slow enough that the bed rises evenly, not fast enough that the water pools.
Mistake 4: Skip the bloom
The bloom releases CO2 from the fresh-ground coffee. If you skip the bloom and go straight to the main pour, the CO2 creates channels in the bed and the extraction is uneven. The 30-second bloom is not optional.
Mistake 5: Stale coffee
Pre-ground coffee from a supermarket shelf has been losing flavor for weeks. The grinder is the single biggest quality upgrade in the kit. A $30 manual grinder and 30-second grind time beats a $200 drip machine with pre-ground supermarket coffee every time.
The math
Per-cup cost:
- $0.50 in coffee (15g of beans at $30/lb = $1.05/cup; $0.50 at bulk prices)
- $0.02 in filter (one paper filter)
- $0.05 in electricity (kettle + grinder + warmer)
Total per cup: roughly $0.60.
Cafe coffee at the same desk: $4-6.
Daily savings at 2 cups/day: $7-11. Monthly: $150-220. Annual: $1,800-2,600.
The $80 minimum kit pays for itself in 1-2 months at the 2-cup/day pace. After that, the savings are the "real" cost recovery.
The math doesn't capture the quality difference. A well-brewed pour-over at your desk is meaningfully better than most cafe pour-overs, because you control every variable. The barista's training helps when they're consistent; your control helps when they're not.
The verdict
Pour-over at the desk is the right setup for the person who:
- Has 5 minutes per cup
- Wants to control the brew
- Has a desk with a power outlet (for the kettle)
- Wants the best cup possible
The kit cost is $80-200. The per-cup cost is $0.60. The cup quality is the best you can get at a desk without a real espresso machine.
For the rest of the desk setup (mug warmer, mug, beans), see the desk coffee setup guide. For the broader question of whether a desk setup is worth it at all, see are mug warmers worth it.
Methodology: AI-assisted editorial assessment based on brewing references, manufacturer specifications, and aggregated verified-purchaser reviews. We do not perform hands-on testing or brewing. See our editorial policy for how we work.